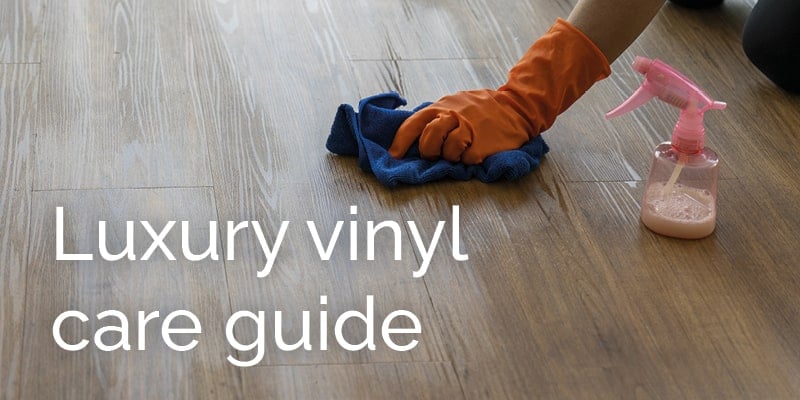
Premoda’s range of luxury vinyl is designed with luxury in mind and is built to last, but we always advise on regular cleaning and maintenance to keep your new flooring looking its best.
Our care guide below gives you some expert advice and top tips on how best to care for your Premoda luxury vinyl floor.
Cleaning and maintenance
Regular vacuuming and brushing with a soft head will remove any surface dust and debris to keep your floor clear. This will help reduce the likelihood of damage and staining. Ensure you wipe any spills away as quickly as possible.
You can also minimise damage and discolouration from dirt by using doormats at all entrances, but make sure you clean these regularly.
Installing curtains or shutting blinds will help to reduce fading and discolouration from extreme sunlight.
Liquid spills and food stains can be easily removed with a well wrung mop or damp cloth. Ensure they are removed as quickly as possible to limit damage. Minimise the use of chemicals to avoid a slippery surface. A pH-neutral cleaning solution can be used but check the label to ensure it’s suitable for use on the luxury vinyl floor.
Do not use wax with any luxury vinyl flooring as this can make the surface slippery and dull the appearance of the tiles. Always check that any cleaning chemicals are safe for use in homes with animals or children.
Quick tips for looking after your Premoda luxury vinyl
- Use a microfiber cloth with an effective floor cleaner to remove surface dirt and debris.
- Place hard flooring strips under furniture or heavy goods to help protect your luxury vinyl flooring from scratches.
- Always lift furniture and heavy items before moving them around your room. Never push or drag furniture across the luxury vinyl tiles, as this could scratch and scuff the flooring.
Removing stains from yout Premoda luxury vinyl floor
Premoda’s range of luxury vinyl is easy to clean and maintain, but spills and stains can still occur. Find a few helpful tips below on how you can remove some common stains from your floor.
- Brush and mop your luxury vinyl floor regularly to reduce the buildup of dirt.
- Vacuum at least once per week to remove loose debris.
- Use a damp cloth or well wrung mop once a week to remove surface stains. Never soak the luxury vinyl tiles as this can cause warping.
- Use a mild pH-neutral detergent with warm water to remove stubborn marks or stains. Never use aggressive cleaning agents.
- Use a soft bristled brush to remove marks if this doesn’t work. Be sure to use gentle circular movements to avoid damaging the surface.
- Wipe the surface afterwards with clean water and a damp cloth to remove any residue.
- Always dry the area completely before allowing children or animals back into the room to avoid accidents.
- Never allow puddles of water to sit on the luxury vinyl floor or use steam cleaners and this can damage the tiles.
Repairing your Premoda luxury vinyl floor
Premoda’s luxury vinyl can be repaired without the need to remove complete tiles. Follow the four simple steps below to repair scratches and holes in the tiles.
- First, you’ll need epoxy resin - a clear liquid that will dry out to fill the hole or scratch in your luxury vinyl.
- You’ll also need acrylic paint that matches the colour of the luxury vinyl tile that needs repairing.
- Mix the epoxy resin with the acrylic paint and carefully fill the hole or paint over the scratch.
- Level the mixture in line with the rest of the tile and wipe away any excess. Allow the tile to dry and your luxury vinyl floor will look as good as new!
Replacing tiles in your Premoda luxury vinyl floor
If you are unable to repair the tile and it needs to be replaced, this can be done without needing to remove your whole floor. Follow the below steps to replace your Premoda luxury vinyl tile.
- Loosen the adhesive holding the tile in place with a blow dryer or heat gun. This will help you to move the tile easily.
- Ensure the floor underneath the existing tile is cleaned to remove any excess debris and then slide the new tile in its place. Check the new tile has been cut to size and glue down.
- Align the patterning of the new tile with the existing floor to guarantee a professional finish.
- You can prevent air bubbles and bumps from forming by using a floor roller or rolling pin. This will also help to ensure the new tile sticks firmly into place, minimising potential trip hazards.
